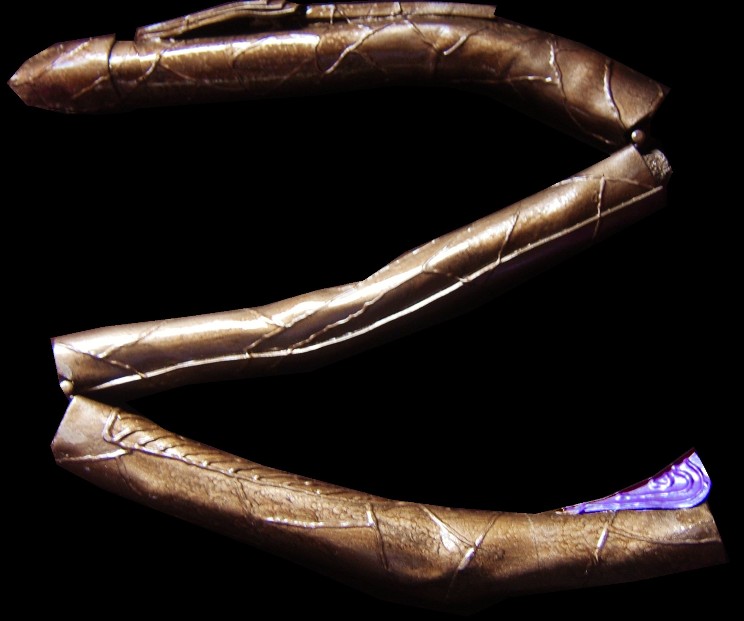
Stargate Zat Gun (Zat’nik’tel) How To
In this tutorial I’ll show you how to make a Stargate zat gun from a few sticks and little paint.

MATERIALS USED:
Zat gun head & tail template: (available free in my patterns vault)
Saw or hand pruners
3 sticks
2 hinges
Glue to put in the hinges
Screw driver or driver-drill
1 sheet of 2mm or 3mm craft foam
Scissors
Hot glue gun
White school glue paint brush
Puffy paint
Hammered metal paint
Metallic purple paint
Stargate is one of my favorite movies, but until recently I’d never seen the show. I’d had several people request a zat gun tutorial a while back. At the time I wasn’t even sure what that was, as they weren’t in the movie, and I hadn’t seen the show yet.
However, over the summer I started watching Stargate SG1 while putting my flowers together for the market. So now that I know what a Stargate zat gun is, I’m fulfilling the tutorial request.
When cutting your sticks for the zat gun, try to find a few that are slightly curved, and cut them at the curve. That will allow the sticks to open properly when you have the zat gun set to ready.
I put a little glue in my hinges to make them stiff so my zat gun would hold the open position. It will eventually wear off and need to be applied again. So a different solution would be to “damage” the hinges by tightening or slightly warping them so they become stiff enough to hold the open zat gun position. Or what I eventually ended up doing was just sticking a bead in the hinge area when I want it open.
Video tutorial by Amber Reifsteck, The Woodland Elf
*Some of the above links may be affiliate links*
The information provided on this website is for general information purposes only. If you choose to rely on the information on this website, you do so at your own risk and you assume responsibility for the results. (Full disclaimer here)
Enjoy this post? Click here to subscribe by email and get new posts delivered to your inbox.Ads by Google


