Making an Elvin Archer Part 6: The Shirt
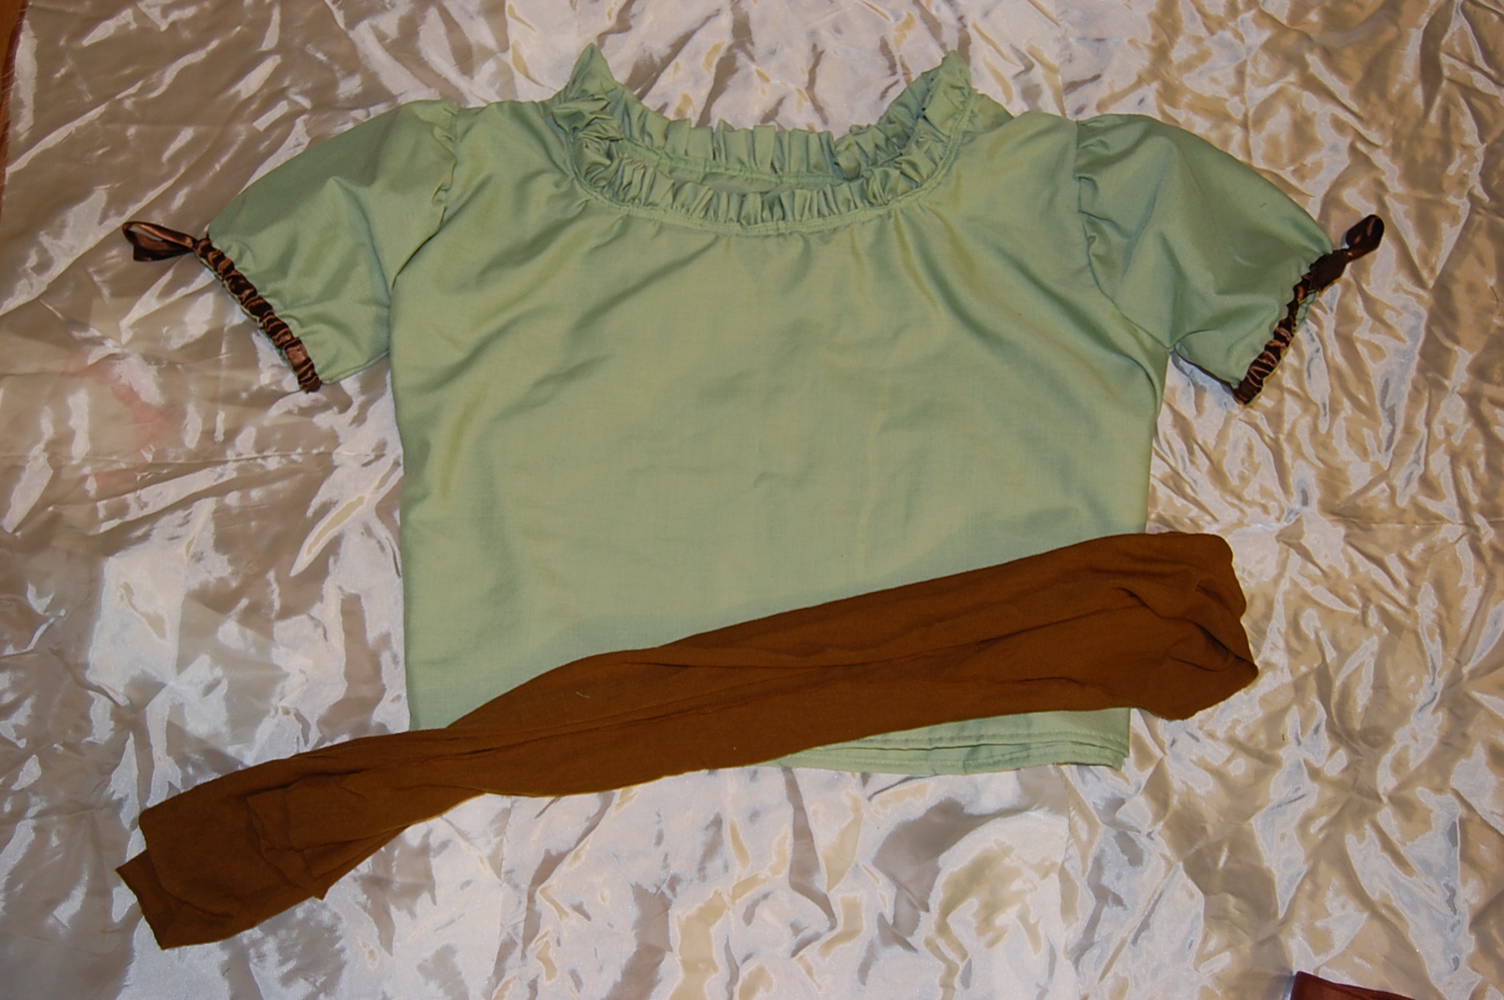
For shirt I used light green broadcloth, double-layered on the torso part, and single-layered on the sleeves. It’s one of the Renaissance style, large shirts. I kept it fairly short so there wouldn’t be a lot to stuff into the corset. The collar was a two inch wide piece of fabric that I did a running stitch on, and pulled it up tight, then I sewed it between the two layers of the shirt. To make the sleeves poofy, I cut them in a shape sort of like a half moon, and sewed the curved edge to the body of the shirt. The flat edges I made sure to cut on the bias so I wouldn’t have to hem them. Then to enhance the “poof” I sewed some half-inch brown ribbon onto the sleeve-bottoms, sewing only at the very edges which left a tunnel in between. Through the tunnel, I ran a thinner piece of brown ribbon so the sleeves can be pulled up tight for added “poofyness” and a good fit on the arms. The olive green piece of cloth at the bottom is a sash/belt that goes around the waist.
The costume was finished off with a pair of latex elf ears.
The information provided on this website is for general information purposes only. If you choose to rely on the information on this website, you do so at your own risk and you assume responsibility for the results. (Full disclaimer here)
Enjoy this post? Click here to subscribe by email and get new posts delivered to your inbox.Ads by Google