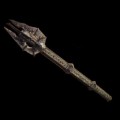
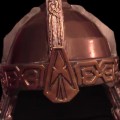
Sauron Costume Part 2: The Helmet
A couple sheets of craft foam and some silver paint will get you a fairly metallic looking Sauron helmet for around $10.
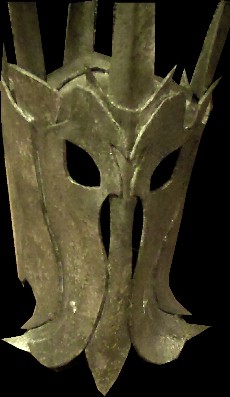
This tutorial is meant to follow last week’s Sauron mace how-to (watch it here if you missed it). The trick to getting the helmet front to have the curves at the bottom is heat. If you don’t have a heat gun, a blow dryer or a warm heater will work fine. Since the foam is so thin it bends readily, just be sure you have it in the shape you want before it cools. Once it cools, it holds that exact shape.
If you don’t want to draw the helmet pieces free hand, you can download a pdf template here. I’ve simplified it a lot, just so it’s easier to make, but it still has the recognizable Sauron shape. Depending on your head size you may have to shrink or enlarge the pieces.
For the third part of the Sauron costume, the armor tutorial, click here.
Video tutorial by Amber Reifsteck, The Woodland Elf
The information provided on this website is for general information purposes only. If you choose to rely on the information on this website, you do so at your own risk and you assume responsibility for the results. (Full disclaimer here)
Enjoy this post? Click here to subscribe by email and get new posts delivered to your inbox.Ads by Google