Lightsaber Hilt Tutorial: How to Make a Cheap and Easy Star Wars DIY Lightsaber
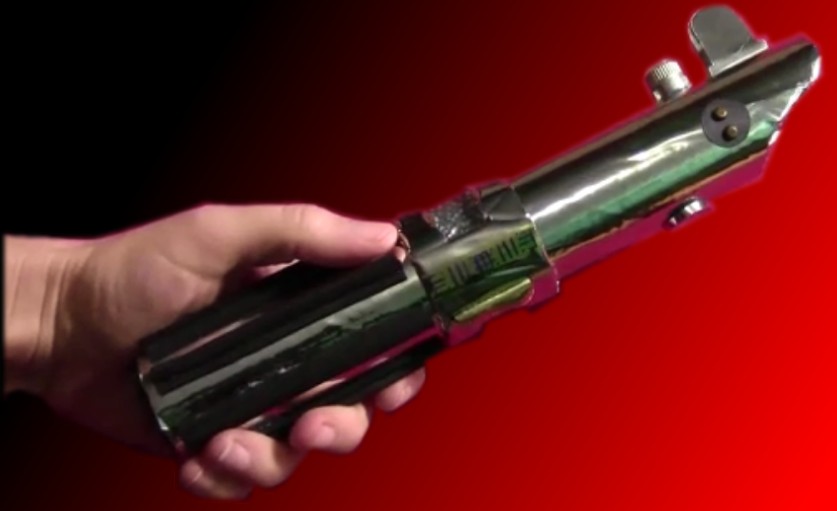
I had several requests to do a DIY Lightsaber Hilt tutorial, so here is a a cheap and easy way to make a realistic looking Star Wars lightsaber hilt (I made this one for under $10).

MATERIALS NEEDED:
1 wrapping paper tube
Silver adhesive foil
Small bit of gold adhesive foil (or gold paint)
Small pieces of 2 and 3 mm craft foam
Scrap of black paper
4 gold scrapbooking brads (if you can’t find gold ones, any color will do, and you can just paint them)
Silver puffy paint
Thin-tipped black marker
Small plastic cap (those little blue homeopathics containers work great)
A reddish/orange bead or button
Silver paint and and small bristle paint brush
D ring for hanger (optional)
Utility knife
Scissors
Hot glue gun
This particular tutorial is for making the “hand-me-down” lightsaber that began as Anakin Skywalker’s second lightsaber, passed to Luke, and then finally to Rey (after lord only know who went skydiving off Cloud City to retrieve it…).
This one is mostly the original version, when Anakin first made it, with the exception of the D ring. Anakin hadn’t added one yet, but I did it for convenience.
The silver adhesive foil I got from JoAnn Fabrics (if you watched my Harley tutorials, then you know how obsessed I am with this stuff…), and if you bring a coupon, you can get it for $5 or $6. If you don’t have a JoAnn’s, they also sell it here on Amazon for a bit more.
Video tutorial by Amber Reifsteck, The Woodland Elf
*Some of the above links may be affiliate links*
The information provided on this website is for general information purposes only. If you choose to rely on the information on this website, you do so at your own risk and you assume responsibility for the results. (Full disclaimer here)
Enjoy this post? Click here to subscribe by email and get new posts delivered to your inbox.Ads by Google


