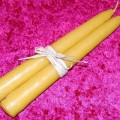
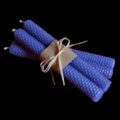
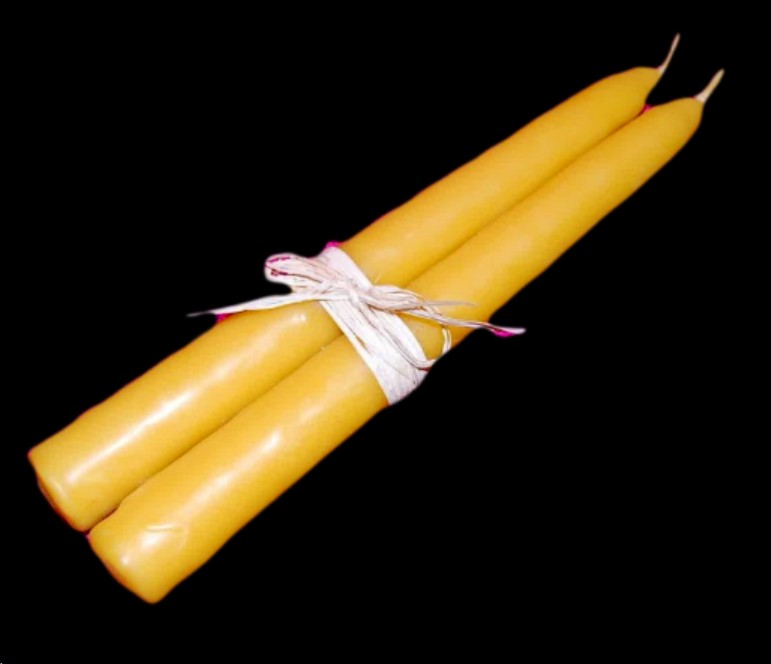
How To Make Beeswax Tapers The Easy Way
In this tutorial, I’ll show you how to make beeswax tapers the easy way. They’ll have the hand-dipped look, without the hours of hand-dipped work.
MATERIALS USED:
Two pans or a double boiler
Lid for pan or double boiler
Water for double boiler
Silicone taper molds (available at Candlewic)
Wicking
Wreath wire (twice as long as your mold)
Rubberbands
Wick pins or bobby pins
Scissors
Something to hold the mold upright (pvc pipes or other candle molds)
Dipping vat (I just used a metal plumbing pipe)
Raffia (optional)
While hand-dipped beeswax tapers are some of the most beautiful candles you can make, they also some of the most difficult. I used to make them completely the old-fashioned way, hand dipping my beeswax tapers one set at a time. It took FOREVER!
So after finally realizing I was nuts, I came up with an alternative method. Not only is it a lot faster, but I’ve also found that these burn better than actual hand-dipped candles as well. While hand-dipped tapers often have layers of air or water trapped between the wax, this alternative method eliminates that.
While you can use a double boiler to make these, I generally just use two pans set inside one another. The outer pan has water, like a double boiler, while the inner pan holds the wax. Just be sure you use an old pan you don’t care about for the inner pan. Once you use it for wax, you’ll never be able to use it for anything else again.
I use fresh beeswax, partially from my own wild swarm I caught years ago, and partially from some local beekeepers, so I know how the bees are raised. However, when using fresh wax like this, you will need to clean it. Fresh wax will not have been filtered like store-bought wax. Click here if you need instructions for how to clean your wax.
The silicone candle molds I use in this tutorial can be used with mold release. However, I chose to simply slice down the sides with a utility knife. The candle molds are then held together with rubber bands. I’ve never had a leak yet, and don’t have to use any mold release that way.
Video tutorial by Amber Reifsteck, The Woodland Elf
*Some of the above links may be affiliate links*
The information provided on this website is for general information purposes only. If you choose to rely on the information on this website, you do so at your own risk and you assume responsibility for the results. (Full disclaimer here)
Enjoy this post? Click here to subscribe by email and get new posts delivered to your inbox.Ads by Google